Introduction
Beats Studio Pro headphones are renowned for their excellent sound quality and stylish design. However, like any electronic device, they can develop issues over time. This comprehensive guide will walk you through common problems and solutions, from diagnosing the issues to performing basic and advanced repairs. Whether you’re dealing with a torn earpad or internal wiring issues, this guide has got you covered. Read on to learn how to keep your Beats Studio Pro headphones in top-notch condition.
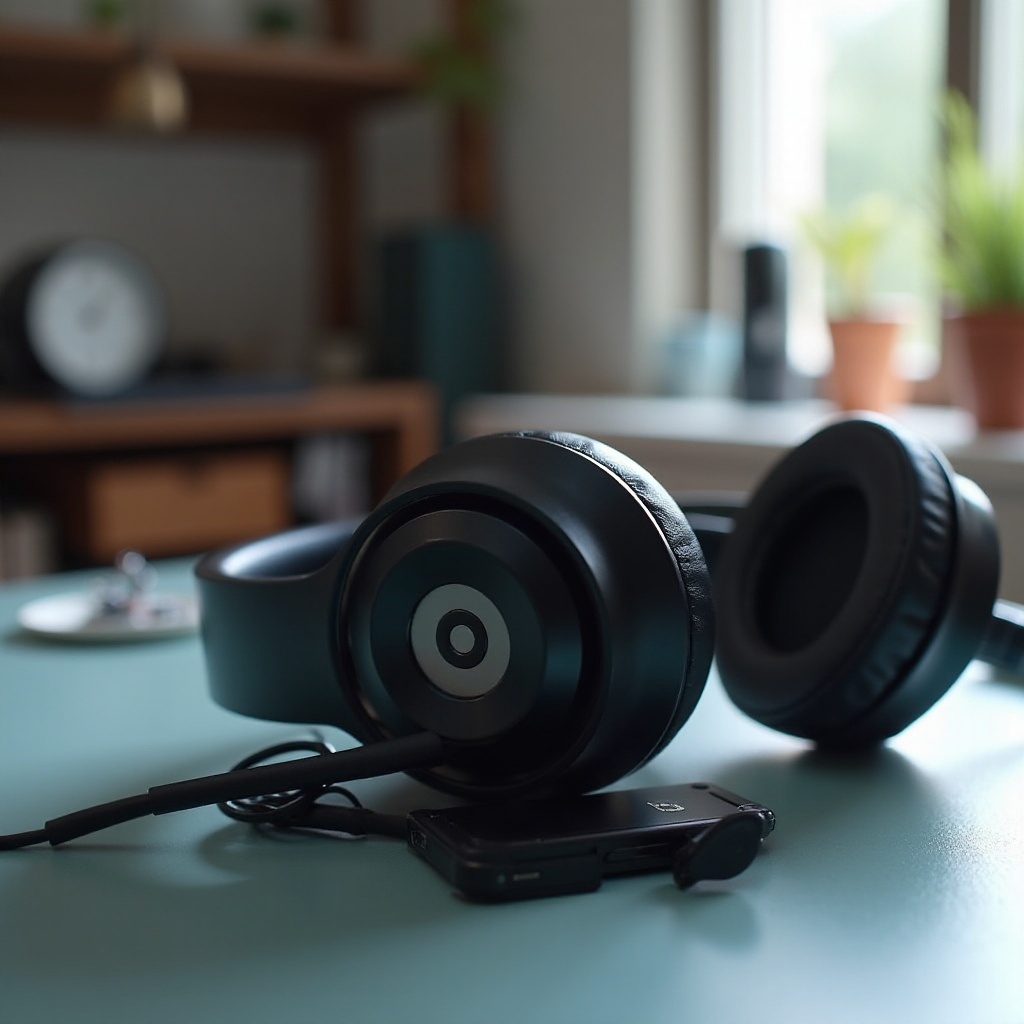
Common Issues with Beats Studio Pro Headphones
Beats Studio Pro headphones, although robust, can experience a variety of issues. Common problems include:
- Earpad Deterioration: Over time, the earpads can wear out, leading to discomfort and reduced sound isolation.
- Broken Cable or Connector: Frequent bending and twisting can cause the cable or connector to break, resulting in sound issues.
- Battery Problems: The built-in battery may degrade, leading to reduced playback time.
- Speaker Driver Malfunction: If you notice a drop in audio quality or distorted sounds, the speaker driver could be the culprit.
- Internal Wiring Issues: Loose or damaged internal wires can lead to intermittent sound or complete audio failure.
Understanding these common problems can help you identify the best repair approach for your headphones.
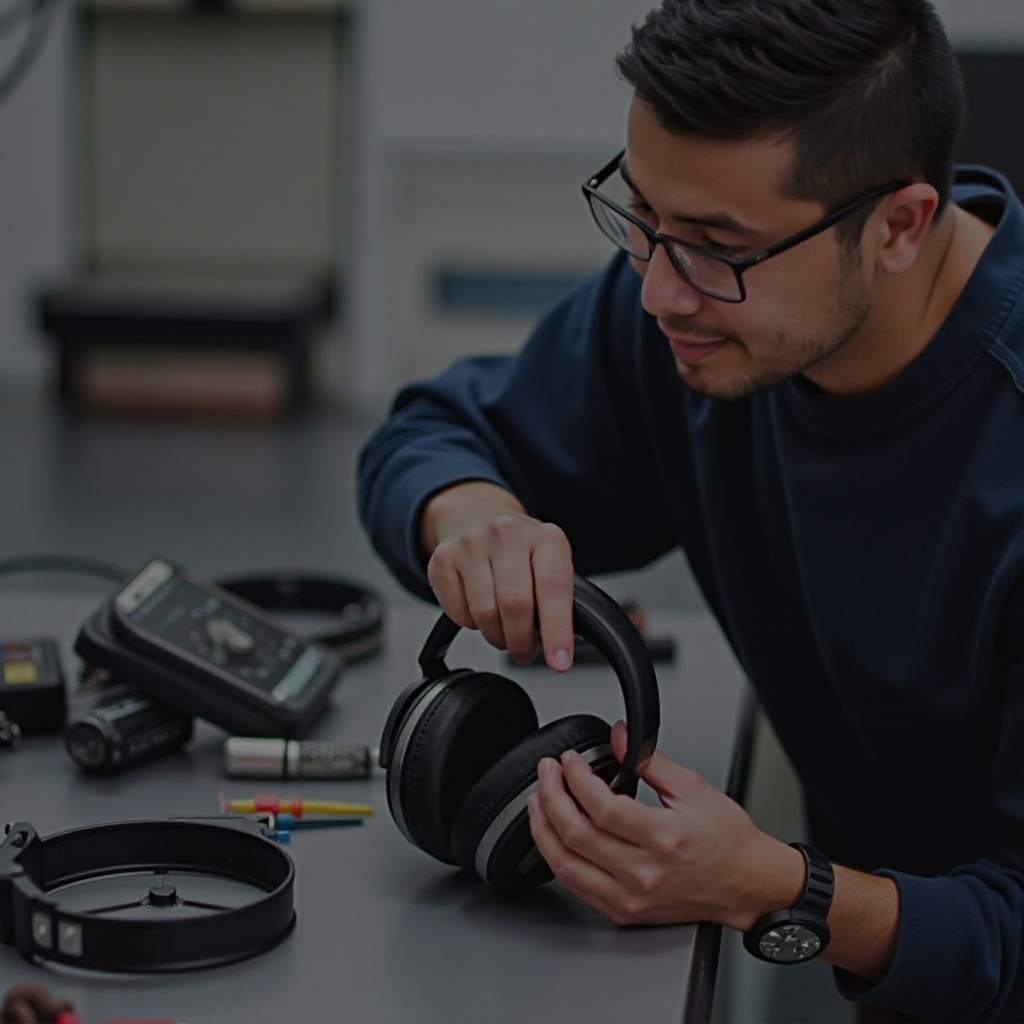
Basic Diagnostic Techniques
Before diving into repairs, it’s essential to diagnose the issue accurately. Here are some basic diagnostic techniques:
- Visual Inspection: Check for any visible damage on the earpads, cable, and connectors. Look for wear and tear or signs of damage.
- Audio Test: Play audio through the headphones and listen for any irregularities such as crackling, intermittence, or distortion.
- Battery Test: Check if the headphones hold a charge. If they deplete quickly or don’t charge, the battery may need replacement.
- Connectivity Check: Ensure the headphones are properly paired with your device to rule out Bluetooth connectivity issues.
These diagnostics will help pinpoint the problem, making the repair process more efficient.
Step-by-Step Repair Guide
Once you’ve diagnosed the issue, follow these steps to repair your Beats Studio Pro headphones.
Earpad Replacement
- Remove Old Earpads: Gently peel off the old earpads by pulling them away from the ear cups.
- Clean the Surface: Wipe down the ear cups with a soft cloth to remove any adhesive residue.
- Attach New Earpads: Align the new earpads with the ear cups and press firmly until they snap into place.
Cable and Connector Repairs
- Identify the Issue: Determine if the cable or connector is damaged.
- Cut and Strip Wires: Cut the damaged section and strip the wires.
- Solder the New Connector: Solder the wires to a new connector, ensuring a secure connection.
- Secure the Connection: Use heat shrink tubing to cover the solder joints and prevent damage.
Battery Replacement
- Remove Ear Cup Cover: Gently pry open the ear cup cover to access the battery compartment.
- Disconnect the Old Battery: Carefully disconnect the battery from the internal circuitry.
- Connect the New Battery: Connect the new battery, making sure the polarity matches.
- Reassemble the Headphones: Secure the ear cup cover back in place.
Following these steps can resolve most basic issues with your Beats Studio Pro headphones.
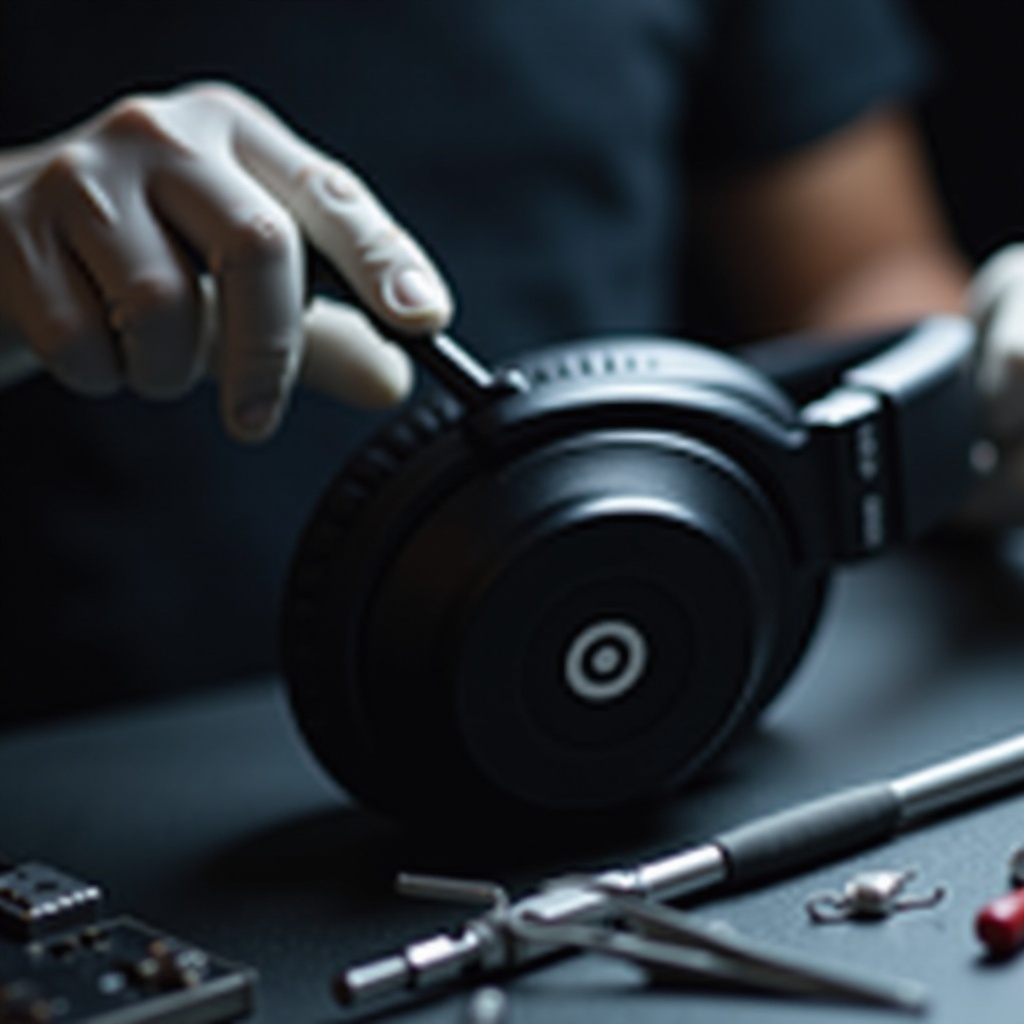
Advanced Repair Techniques
For more complex issues, such as internal wiring or speaker driver problems, more advanced techniques are needed.
Speaker Driver Replacements
- Open the Ear Cup: Gently pry open the ear cup to access the speaker driver.
- Remove the Old Driver: Unscrew and disconnect the faulty driver.
- Install the New Driver: Connect and secure the new driver in place.
Internal Wire Soldering
- Locate the Broken Wire: Open the ear cup and locate the damaged wire.
- Solder the Wire: Solder the broken wire back together, ensuring a secure connection.
- Insulate the Wire: Use electrical tape or heat shrink tubing to insulate the solder joint.
Headband Fixes
- Identify the Issue: Inspect the headband for cracks or loose parts.
- Apply Adhesive: Use a strong adhesive to mend cracks or secure loose parts.
- Reinforce with Tape: Wrap the headband with tape for added strength and stability.
When to Seek Professional Help
While many repairs can be done at home, some issues require professional expertise. Seek professional help if:
- You Lack Tools or Skills: If you’re not confident in your abilities or lack the necessary tools.
- Complex Internal Issues: For issues like intricate internal wiring or extensive damage.
- Warranty Concerns: If your headphones are still under warranty, attempting a DIY repair might void it.
Professionals have the experience and tools to handle complex repairs, ensuring your headphones are fixed correctly.
Maintenance Tips for Long-Lasting Headphones
To prolong the life of your Beats Studio Pro headphones, follow these maintenance tips:
Proper Storage
Store your headphones in a protective case when not in use to prevent physical damage.
Routine Cleaning
Regularly clean the earpads and headband with a soft, damp cloth to remove dirt and oils.
Performance Checks
Periodically test your headphones to ensure they are functioning correctly, addressing any minor issues immediately.
Conclusion
Regular maintenance and prompt repairs can keep your Beats Studio Pro headphones in excellent condition, ensuring you continue to enjoy high-quality sound. Whether you’re tackling basic earpad replacements or advanced internal wiring repairs, this guide provides the knowledge you need to keep your headphones working flawlessly.
Frequently Asked Questions
How do I diagnose if the problem is with the internal wiring?
Listen for intermittent audio cutouts or complete sound loss. If visual inspection reveals no external damage, internal wiring is likely the issue.
What tools are needed for basic headphone repairs?
Basic tools include a screwdriver, soldering iron, wire cutters, heat shrink tubing, and replacement parts like earpads and connectors.
Can I get warranty service after attempting a DIY repair?
DIY repairs can void the warranty. Always check the warranty terms before attempting any repair or consult a professional.