Introduction
Connecting Sony headphones to a MacBook or iMac may seem straightforward, but the process can sometimes be trickier than expected. Whether you use Bluetooth or a wired connection, there’s a range of setups and settings to consider. This blog will guide you through the step-by-step process of connecting your Sony headphones to your Mac, optimizing audio settings, and troubleshooting any common issues that may arise.

Preparing Your Mac
Before diving into the connection process, ensure your Mac is prepared for a new device. First, update your macOS to the latest version available. New software updates often improve Bluetooth connectivity and fix bugs that could interfere with connection processes.
- Click on the Apple logo () in the top-left corner of your screen.
- Select ‘System Settings.
- Click on ‘General’ and then ‘Software Update.
- If there is an available update, follow the prompts to install it.
Once your software is up to date, clear any unnecessary devices from your Bluetooth list to avoid interference. Go to ‘System Settings’ > ‘Bluetooth’ and remove any obsolete devices. Also, ensure your Bluetooth is toggled on here to prepare for pairing.
Preparing Your Sony Headphones
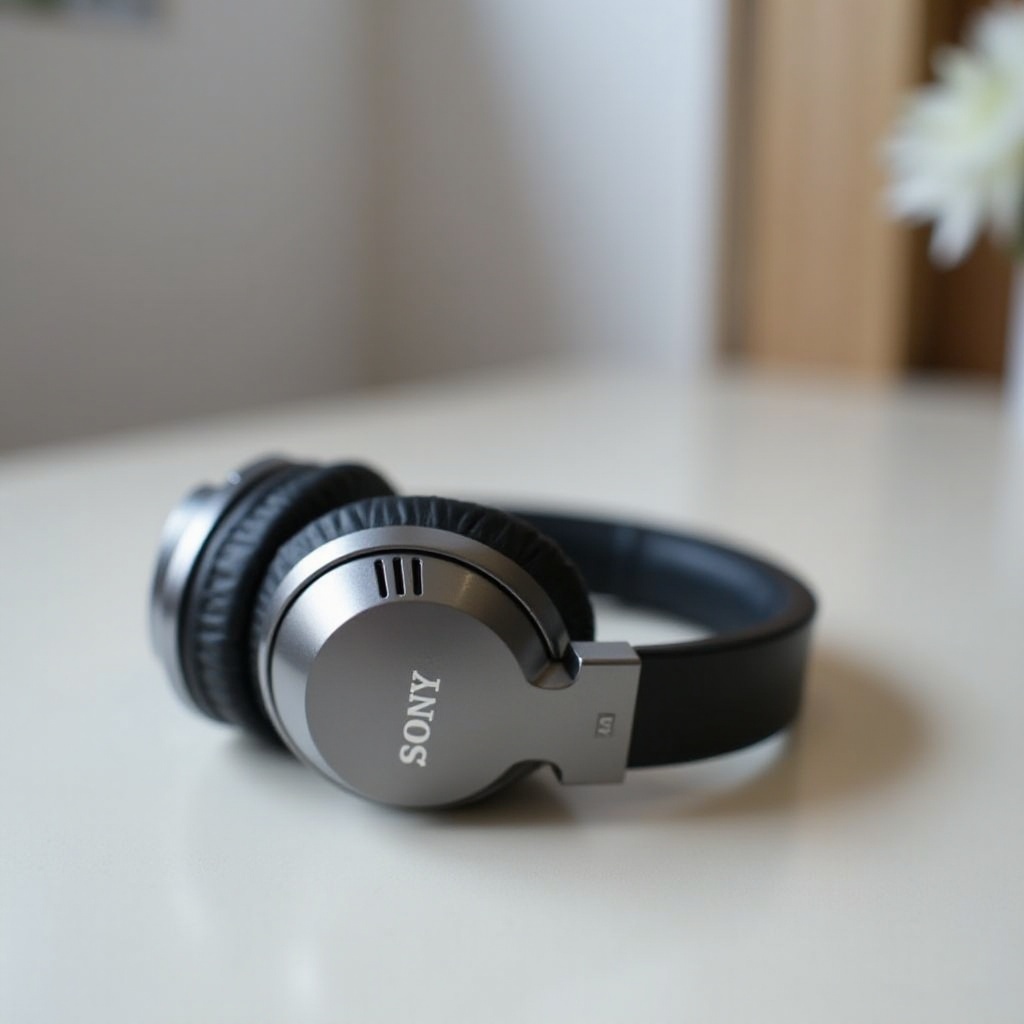
Now, let’s ensure your Sony headphones are ready for connection. For this guide, we’ll consider the popular Sony WH-1000XM4 model, but this can generally apply to other models as well.
- Fully charge your headphones. Connection issues often arise from low battery levels.
- To reset your Sony headphones for pairing, press and hold the power button for about 7 seconds until the indicator starts flashing blue and red. This indicates that your headphones are in pairing mode.
For wired connections, locate the 3.5mm audio jack or USB-C port on your headphones. Keep the required cable handy for a seamless connection.
Direct Connection Methods
You have two primary methods to connect your Sony headphones to a Mac: Bluetooth and a wired connection. We’ll cover both in detail.
Bluetooth Connection
- On your Mac, go to ‘System Settings’ > ‘Bluetooth.
- Ensure Bluetooth is turned on.
- Your Sony headphones should appear in the list of available devices. Click on them to initiate pairing.
- After a moment, you should see a confirmation stating that your Sony headphones are connected.
Pairing via Bluetooth offers advantages, such as wireless convenience and fewer cables. However, it can sometimes face signal interference, so ensure your devices are within close range for optimal performance.
Wired Connection
For a more stable connection, especially useful for tasks requiring minimal latency, a wired connection is optimal.
- Locate the audio port on your Mac (usually on the side or back, depending on the model).
- Insert one end of the 3.5mm audio cable into your Mac’s port.
- Connect the other end to your Sony headphones’ audio jack.
If your Mac lacks a 3.5mm audio port, a USB-C to audio jack converter may be necessary. Wired connections typically provide a more stable and high-quality audio experience without the hassle of signal drops.
Optimizing Sound Settings
Once your headphones are successfully connected, it’s essential to optimize the sound settings for the best possible experience.
- Go to ‘System Settings’ > ‘Sound.
- Under the ‘Output’ tab, select your Sony headphones from the list of devices.
- Adjust the balance, volume, and output settings to suit your preference.
- For advanced settings, you might explore audio and midi settings. Go to ‘Applications’ > ‘Utilities’ > ‘Audio MIDI Setup.
For specific Sony models equipped with an app, utilize their mobile app to personalize equalizer settings and other sound enhancements.
Troubleshooting Common Issues
Encountering issues while connecting your Sony headphones to your Mac isn’t uncommon. Here are some quick fixes to common problems:
Mac Doesn’t Recognize the Headphones
- Ensure your headphones are in pairing mode.
- Restart the Bluetooth service on your Mac: ‘System Settings’ > ‘Bluetooth’ > Toggle off and turn it back on.
No Sound After Connecting
- Check the volume on both your Mac and the headphones.
- Ensure your Mac’s output is set to your headphones: ‘System Settings’ > ‘Sound’ > ‘Output.
If these solutions don’t resolve your issues, refer to the Sony support documentation for model-specific troubleshooting steps.

Conclusion
Connecting Sony headphones to a Mac doesn’t have to be complex. Whether your preference is for a Bluetooth or wired connection, following these steps ensures seamless integration and optimized sound performance. Addressing potential issues head-on is crucial for an uninterrupted audio experience.
Frequently Asked Questions
What should I do if my Mac doesn’t recognize my Sony headphones?
Ensure your headphones are in pairing mode by holding the power button until the indicator flashes. Restart Bluetooth service on your Mac by toggling it off and on in ‘System Settings’ > ‘Bluetooth.’
How can I improve the sound quality of my Sony headphones on my Mac?
Access ‘System Settings’ > ‘Sound’ and select your headphones under ‘Output.’ Adjust the balance and output volume. Advanced users can tweak settings further in ‘Audio MIDI Setup.’
Can I connect multiple devices to my Sony headphones simultaneously?
Yes, many Sony headphones with Bluetooth 5.0 allow multi-pairing. However, managing connections can be tricky. Check your headphone’s manual for specific instructions on enabling and managing multiple connections.