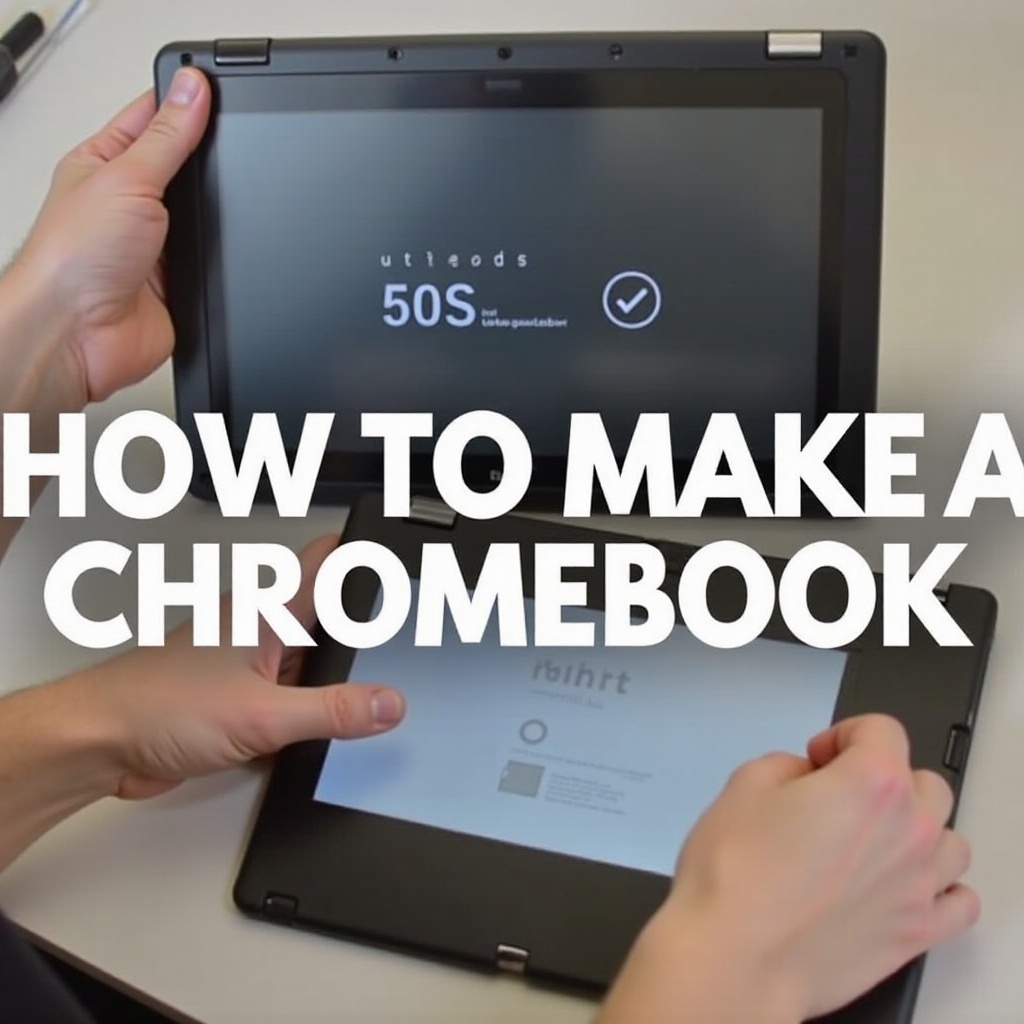
Introduction
Have you ever wished your Chromebook had a touchscreen? You’re not alone. Many Chromebook users seek the enhanced functionality and ease of use that touchscreens offer. Converting your standard Chromebook into a fully functional touchscreen device is not only feasible but can be both fun and educational. This guide will walk you through the entire process, providing clear instructions so you can achieve touchscreen greatness in no time. By the end, your Chromebook will be touch-enabled, opening up new possibilities for work and play.

Understanding Chromebook’s Touchscreen Potential
Chromebooks have gained immense popularity due to their lightweight design, affordability, and seamless integration with Google’s suite of applications. However, not all Chromebooks come equipped with touchscreens, limiting their versatility. A touchscreen can transform the way you interact with your device, making tasks such as drawing, note-taking, and navigation more intuitive.
While it may seem daunting, turning a standard Chromebook into a touchscreen is straightforward with the proper guidance and tools. Understanding your Chromebook’s capability is essential before diving into the modification process. The model and specifications will determine compatibility with touchscreen conversion kits, so make sure your device can handle the upgrade.
Preparing Your Chromebook for Touchscreen Conversion
Before starting the conversion process, proper preparation is crucial. First, identify your Chromebook’s model number, usually found on the underside of the device. Ensure your Chromebook is compatible with touchscreen kits; some models might not support the upgrade due to hardware limitations.
- Backup Your Data: Before making any modifications, back up your data to Google Drive or an external hard drive. This step ensures no important files are lost during the process.
- Gather Information: Research your Chromebook model to understand any limitations or specifics. Join user forums or groups to get insights from other users who have performed similar modifications.
- Check Warranty: Note that converting your Chromebook to a touchscreen may void your warranty. Understand the risks involved and proceed if you are comfortable with the potential implications.
With the preparations set, you are ready to move on to the installation phase.

DIY Touchscreen Installation
Required Tools and Parts
To convert your Chromebook into a touchscreen, you will need several tools and components:
– A touchscreen digitizer
– Plastic prying tools
– Screws and screwdrivers
– Double-sided tape
– An antistatic wrist strap (to prevent static damage)
– A cleaning cloth
Step-by-Step Installation Process
- Power Off and Disassemble the Chromebook:
- Turn off your Chromebook and disconnect any peripherals.
-
Use the plastic prying tools to gently detach the bezel around the screen.
-
Install the Touchscreen Digitizer:
- Carefully remove the existing screen.
- Place the digitizer over the screen, aligning the connectors precisely.
-
Secure the digitizer with screws and double-sided tape.
-
Connect the Cables:
- Attach the digitizer cables to the appropriate ports. Make sure connections are firm and secure.
-
Follow the instruction manual provided with your kit for specific connection details.
-
Reassemble and Test:
- Reassemble the bezel and other parts you removed.
- Power on your Chromebook and test the digitizer for responsiveness.
Verifying the Installation
Once reassembled, it’s essential to verify the touchscreen functionality:
– Open the Settings: Navigate to Settings > Device > Touchpad and mouse to ensure touch functionality is enabled.
– Test Touch Points: Gently touch various points on the screen to check for accurate tracking and response. Calibration may be necessary.
Configuring Software for Touchscreen
With the hardware installed, configuring the software is the next crucial step to fully utilize the touchscreen capabilities.
Enabling Touch Features in Chrome OS
- Update Chrome OS:
- Make sure your Chrome OS is up to date. Go to Settings > About Chrome OS and check for updates.
- Enable Touch Features:
- In Chrome flags (chrome://flags), search for ‘touch’ and enable relevant touch features.
- Restart your Chromebook to apply changes.
Essential Touchscreen Applications
Maximize your touchscreen capability by installing apps designed for touch devices:
– Google Keep: For note-taking with stylus support.
– Infinite Painter: Excellent for digital drawing and painting.
– SketchBook: A powerful drawing app with a wide range of tools.
Troubleshooting Common Issues
- Calibration Problems: Use calibration tools in settings to fine-tune touch accuracy.
- Unresponsive Touchscreen: Ensure all cables are correctly connected and the digitizer is securely installed.
- Software Glitches: Restart your Chromebook and check for system updates.
Maintaining and Maximizing Touchscreen Functionality
Keeping your touchscreen in top-notch condition ensures consistent performance over time.
Regular Maintenance Tips
- Clean the Screen: Use a microfiber cloth to clean the screen regularly and avoid scratches.
- Avoid Excess Pressure: Refrain from pressing too hard on the screen to prevent damage.
Software Updates
- Stay Updated: Keep your Chrome OS and apps updated to the latest versions to avoid software conflicts and ensure peak performance.
Hardware Check-ups
- Periodic Inspections: Check the screen and digitizer connections periodically for any signs of wear or loosening.
- Professional Assistance: If unsure, seek professional help for maintenance or repairs.
Conclusion
Transforming your Chromebook into a touchscreen device opens up new avenues for usability and creativity. Following this comprehensive guide ensures you navigate the process smoothly, from preparing your device to maintaining its new functionality. With the right tools and steps, your Chromebook will offer an enriched and interactive experience.
Frequently Asked Questions
Can I convert any Chromebook into a touchscreen?
Not all Chromebooks are compatible with touchscreen conversion kits. It’s essential to check your device’s model number and verify compatibility before starting the process.
What if my Chromebook isn’t compatible with touchscreen kits?
If your Chromebook isn’t compatible, consider investing in a new touchscreen-enabled model or using a USB-connected touchpad as an alternative.
Are there any risks involved in DIY touchscreen installation?
Yes, there are risks, including voiding your warranty and the potential for damaging internal components. Make sure to follow instructions carefully and understand the implications before proceeding.