Introduction
Capturing screenshots on your Acer tablet can be a handy way to share information, capture moments, or save something important for later. Whether you’re new to taking screenshots or just need a refresher, this step-by-step guide will walk you through various methods to take screenshots on an Acer tablet, from using physical buttons to third-party apps.
Taking screenshots can be useful for many purposes, including troubleshooting issues, creating tutorials, or simply keeping a digital copy of something important. With several ways to capture information on your Acer tablet, you’ll be able to choose the method that is most convenient for your needs.
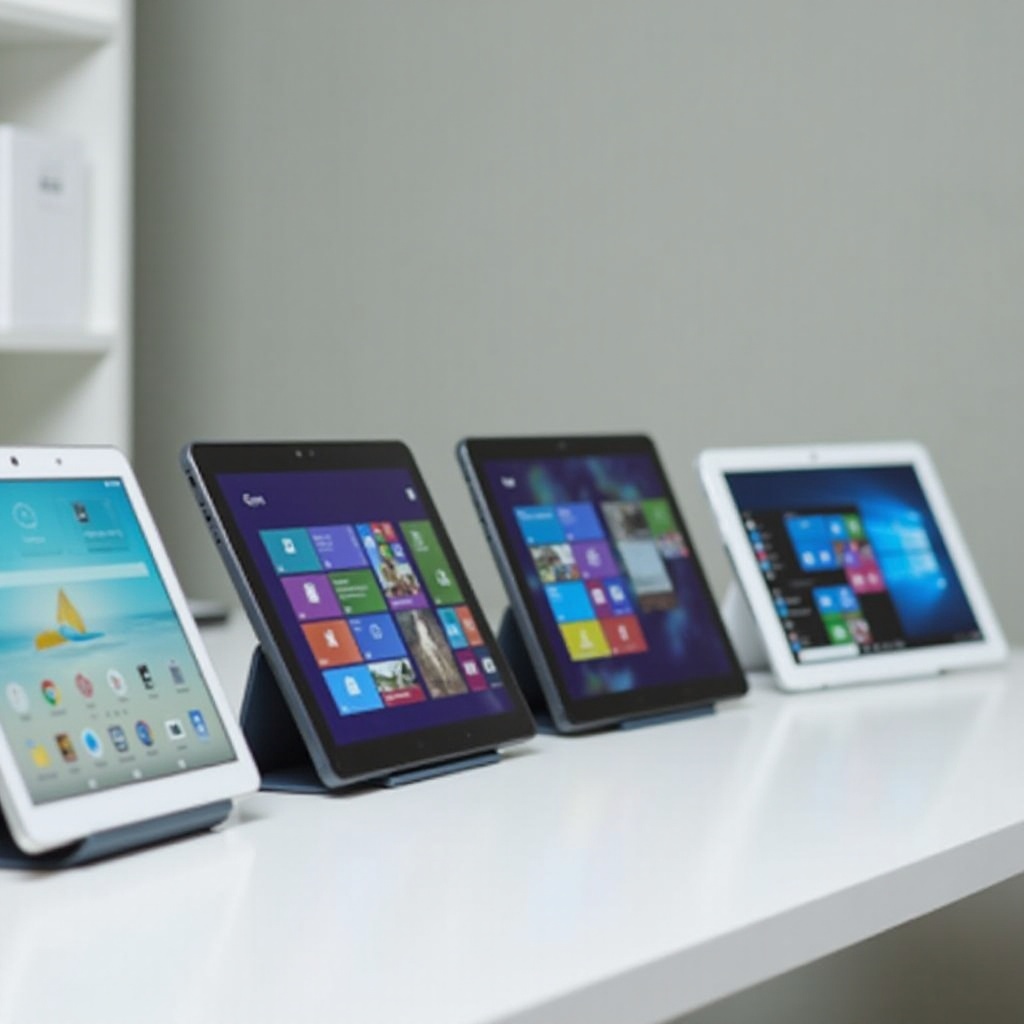
Understanding Acer Tablet Models
Acer offers a range of tablets with different features and functionalities, and understanding your specific model is essential before you dive into taking screenshots. Some of the common Acer tablet models include the Acer Iconia series, Acer Switch series, and Acer Chromebook tablets.
Each model may have slight variations in terms of button placements or software interfaces, but the methods to take screenshots generally remain consistent. Knowing the model can help you find the right instructions for your device. Check the user manual or the settings menu on your Acer tablet to identify your model. This information is often helpful if you need to troubleshoot or look for specifics online.
Understanding the specifications and setup of your Acer tablet ensures that you approach taking screenshots with a clear idea of what to expect, which leads us to the key methods available.
The Basics of Taking Screenshots
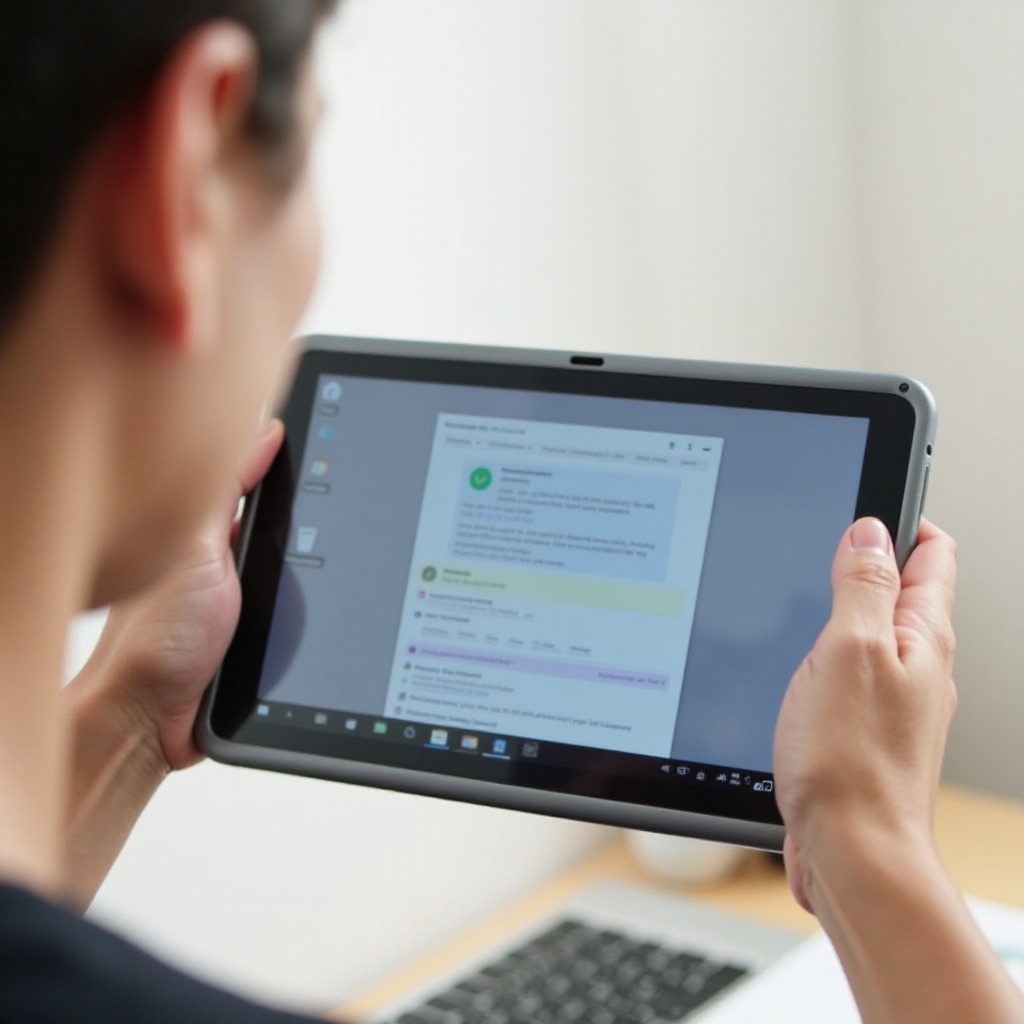
Taking a screenshot on an Acer tablet is usually straightforward. Most devices follow similar basic processes that involve a combination of physical hardware buttons, software interfaces, or sometimes third-party applications. These basics include capturing everything displayed on your screen and possibly editing or sharing the image from your tablet.
To start, confirm that the tablet is turned on and unlocked. Make sure the content you wish to capture is visible on the screen. This sets the stage for using the physical buttons often involved in taking screenshots, setting the foundation for more advanced methods available on Acer tablets.
Using Physical Buttons
One of the most common methods to take screenshots on an Acer tablet is using physical buttons. Here’s a step-by-step guide on how to do it:
- Locate the Power and Volume Down buttons: These are usually found on the sides of your Acer tablet. The exact placement may vary depending on the model.
- Simultaneously press and hold the buttons: Press and hold both the Power button and the Volume Down button at the same time. You need to do this for about 1-2 seconds.
- Check for a screenshot confirmation: You’ll often see the screen flash, hear a camera shutter sound, or get a notification indicating that the screenshot has been taken.
If this method doesn’t work on your first try, practice the timing of pressing both buttons simultaneously. Once taken, the screenshot can typically be found in the ‘Screenshots’ folder in the gallery or photos app on your tablet.
Physical buttons are a reliable method, but there are other ways to capture screenshots without pressing any buttons, such as utilizing touch gestures and quick settings.
Utilizing Touch Gestures and Quick Settings
Some Acer tablets offer the ability to take screenshots using touch gestures or by accessing quick settings. These methods can be especially useful if the physical buttons are not working or if you find gestures more convenient.
- Using Touch Gestures: Some Acer models allow for custom touch gestures to capture screenshots. This could include a three-finger swipe down the screen. Check your tablet’s settings to enable or configure touch gestures.
- Quick Settings Menu: Swipe down from the top of the screen to open the Quick Settings menu. Look for a screenshot icon and tap it to capture what’s currently displayed on your screen.
These alternative methods provide flexibility, allowing users to take screenshots in various scenarios where physical buttons may be difficult to press. For additional features and functionalities, consider third-party apps designed for screenshots.
Third-Party Screenshot Apps
There are several third-party apps available on the Google Play Store that can enhance your screenshot-taking capabilities. These apps often come with advanced features like editing, screen recording, and sharing options. Here are a few popular choices:
- Screenshot Easy: This app allows you to take screenshots easily using on-screen buttons or shake gestures. It also supports advanced editing features.
- AZ Screen Recorder: While primarily a screen recording app, AZ Screen Recorder includes screenshot functionality. It’s useful for those looking for both screens recording and capturing functionalities.
- Screenshot Touch: A user-friendly app that provides a floating widget for easy access to screenshot options, and includes basic editing tools.
Using third-party apps can be particularly helpful if you need specific features not available with the default methods on your Acer tablet, such as capturing scrolling pages or adding annotations.
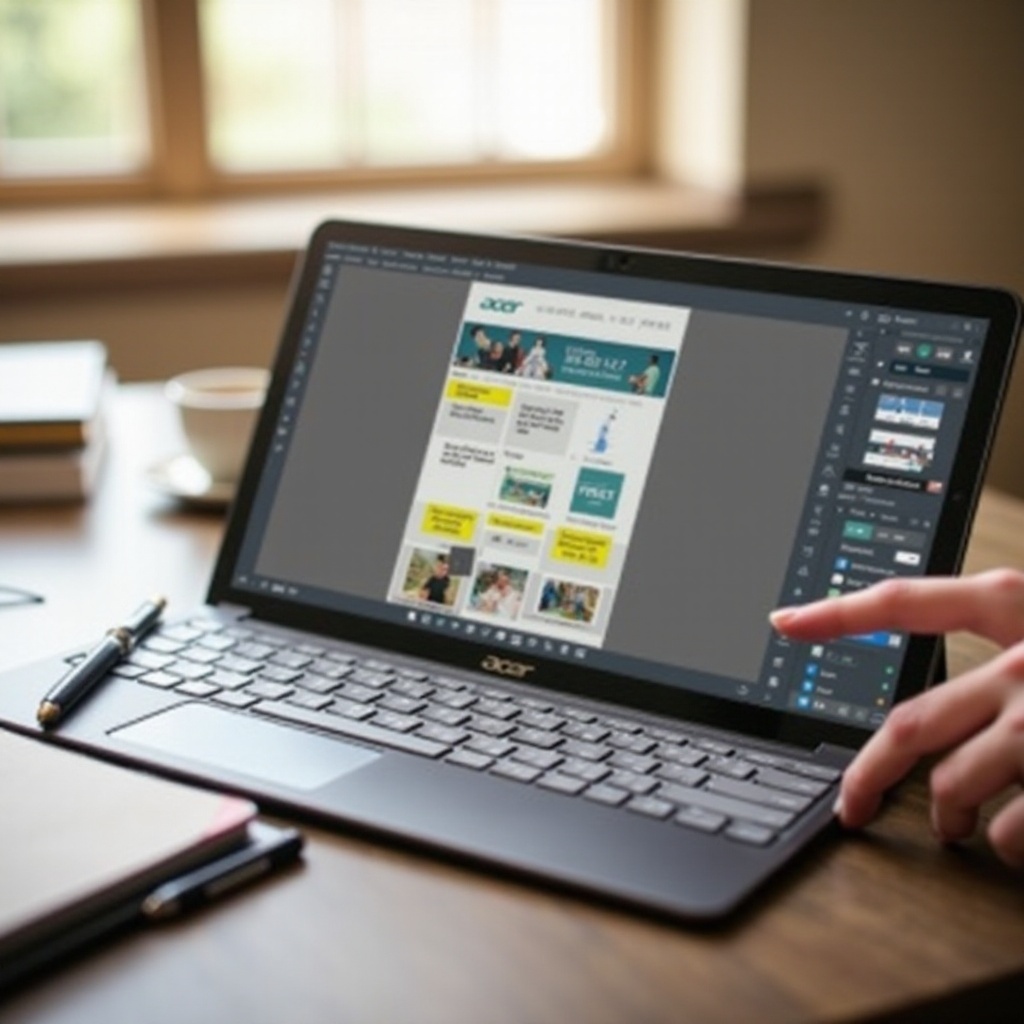
Editing and Sharing Screenshots
Once you have captured a screenshot, you might want to edit or share it. Most Acer tablets come with basic editing tools, but if you need more advanced features, photo editing apps can be helpful.
- Editing: Open the screenshot in your preferred photo gallery app, and you’ll usually find options like cropping, annotating, or adjusting the brightness. Third-party apps like PicsArt or Adobe Photoshop Express offer more comprehensive editing features.
- Sharing: Sharing your screenshots is simple. Open the screenshot and tap the share button. You can choose to send the image via email, social media, or instant messaging apps.
Editing and sharing capabilities ensure that your screenshots are not only captured but also refined and distributed as needed. However, there might be occasional issues with taking screenshots, and troubleshooting these can save time and effort.
Troubleshooting Screenshot Issues
Sometimes you might encounter issues when trying to take screenshots. Here are some common problems and how to solve them:
- Button Combination Not Working: Ensure you’re pressing the buttons simultaneously. If the buttons are damaged, consider using touch gestures or third-party apps.
- Storage Issues: Your tablet might not save screenshots if it’s running low on storage. Check available space and free up storage if needed.
- Software Glitches: Restart your tablet to resolve any temporary software issues. Ensure your tablet’s software is up to date.
By addressing these potential issues, you can troubleshoot effectively and get back to capturing those necessary screenshots on your Acer tablet.
Conclusion
Taking screenshots on an Acer tablet is a straightforward process once you know the different methods available to you. Whether you use the physical buttons, touch gestures, quick settings, or third-party apps, you can choose the method that suits your needs best. If you run into issues, there are straightforward solutions to get you back on track. Happy screenshotting!
Frequently Asked Questions
What should I do if my Acer tablet’s screenshot feature isn’t working?
If your Acer tablet’s screenshot feature isn’t working, first check if the physical buttons are functioning properly. If not, try using alternative methods like touch gestures or quick settings. You might also want to clear up some storage space or restart your device to resolve any software glitches.
Are there any built-in screen recording features on Acer tablets?
Yes, many Acer tablets offer built-in screen recording features. You can typically access this through the Quick Settings menu or by downloading a third-party app if your model does not support it natively.
How can I take a screenshot of a specific part of the screen on my Acer tablet?
To capture a specific part of the screen, you can use the built-in editing tools to crop the screenshot after taking it. Alternatively, third-party apps offer features to select and capture a specific area directly.