Introduction
PS4 controllers are essential for an enjoyable gaming experience, but controller drift can severely impact your play. This issue, where the controller detects movement without any input, can be caused by a variety of factors. Understanding these causes and how to address them is crucial for both fixing problems and preventing future issues. This guide provides comprehensive insights into diagnosing, fixing, and avoiding PS4 controller drift.

What is PS4 Controller Drift?
Controller drift is a common impediment to immersive gaming. It manifests as the undesired movement of characters or scrolling of menus even when you haven’t touched the controller’s analog stick.
-
Defining Controller Drift: Controller drift occurs when the analog stick’s neutral position is compromised, leading to misinterpreted signals. The primary culprits are natural wear and tear or contamination by dirt and debris.
-
The Science Behind Drift: Drift often results from the degradation of the potentiometer in the analog stick. Dust and particles also disrupt the electrical contacts, preventing accurate input detection.
Understanding what drift entails and why it happens is the first step toward addressing it.
Common Causes of PS4 Controller Drift
Identifying the underlying causes of controller drift can guide you toward the most effective solutions:
-
Wear and Tear on Analog Sticks: The frequent use of analog sticks leads to mechanical erosion, causing misalignment that produces phantom movements.
-
Dust and Debris Accumulation: Small particles entering the controller can interfere with the stick’s movement, disrupting your gameplay.
Once you’ve pinpointed potential causes, it’s time to explore solutions to restore your controller to perfect working condition.

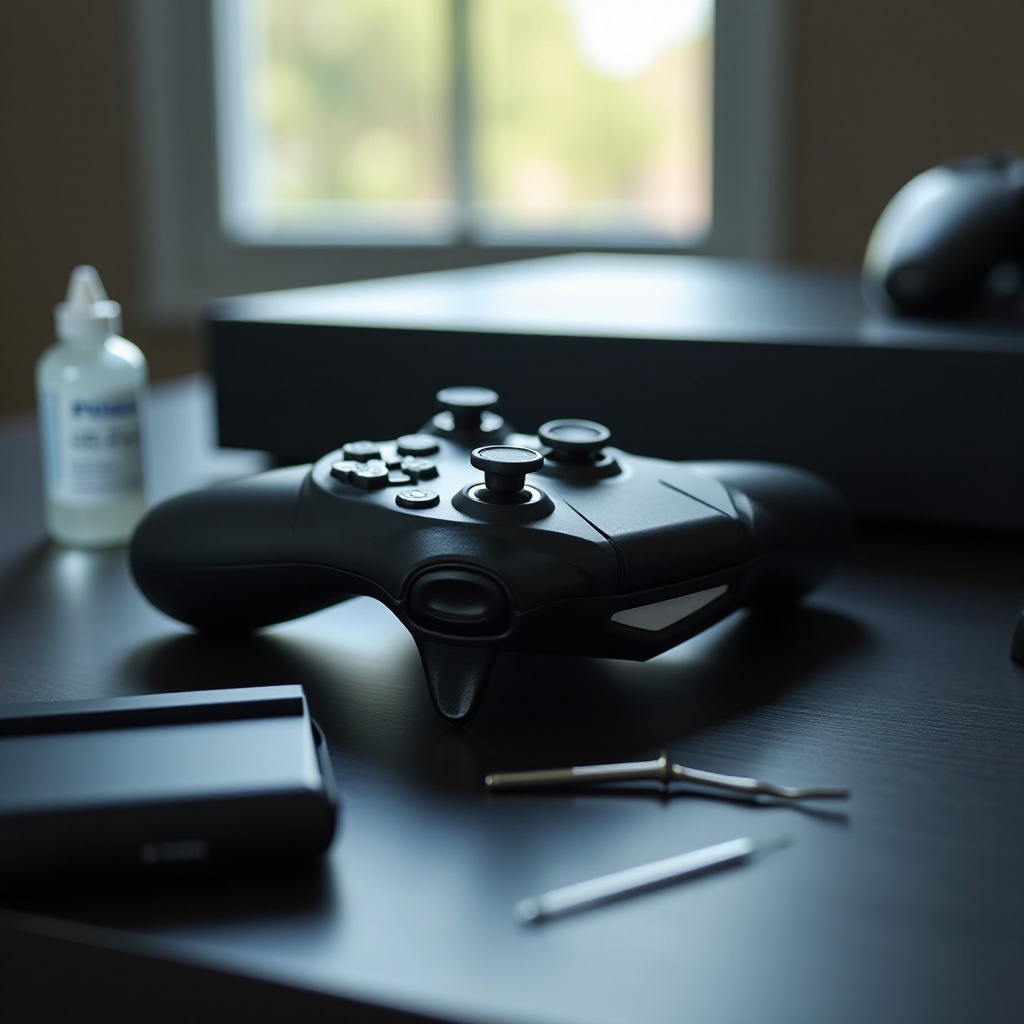
DIY Fixes for PS4 Controller Drift
Before opting for professional repair, consider these DIY solutions to mitigate controller drift:
- Cleaning Your Controller Thoroughly:
- Ensure the controller is turned off and disconnected.
- Carefully open the controller using a screwdriver.
- Use a microfiber cloth and a small amount of rubbing alcohol to clean around the analog stick.
-
After all contaminants are removed, reassemble the controller and test it.
-
Calibrating the Joystick at Home:
- Connect your controller to the console and navigate to the settings.
- Follow the calibration procedures to reset the analog stick.
-
Menus will guide you through the steps to restore proper stick range and return the neutral position.
-
Replacing the Analog Stick Yourself:
- Purchase a compatible replacement stick online or at a local electronics store.
- Disassemble the controller, remove the malfunctioning stick, and solder the new component into place.
- Reassemble the casing and assess the performance by testing in-game.
These DIY steps can help restore your controller’s functionality, saving you the cost and hassle of professional intervention.
Professional Solutions and When to Seek Help
If DIY remedies are insufficient, seeking professional assistance may be the best course of action:
-
Finding Authorized Repair Centers: Contact Sony or authorized service providers for reliable repair options. Professionals possess the necessary expertise and tools to fix intricate controller issues.
-
Evaluating the Cost of Professional Repair: Weigh the repair cost against purchasing a new controller. Often, professional repairs are more economical and extend the controller’s life substantially.
Professional solutions are ideal when DIY attempts don’t achieve desired results, ensuring your controller operates at peak efficiency.
Preventative Measures to Avoid Future Drift
Preventing drift from occurring again will protect your gaming experience from future frustration:
- Regular Maintenance Protocols:
- Consistently clean your controller exterior with a soft, dry cloth to keep debris at bay.
-
Use a can of compressed air to blow out dust from crevices and stick mechanisms.
-
Top Accessories to Protect Your Controller:
- Apply protective caps over analog sticks to guard against physical wear.
- Store the controller in a dust-free environment and use controllers cases during travel for added protection.
Applying preventative care maintains your equipment’s longevity and performance.
Conclusion
By understanding and implementing solutions for PS4 controller drift, you can enjoy uninterrupted gaming sessions. Whether applying DIY remedies, seeking professional repairs, or adopting preventative care strategies, each step ensures the longevity and reliability of your PS4 controller. Prioritize maintaining your gaming gear for an optimal gaming experience.
Frequently Asked Questions
How can I identify if my PS4 controller is drifting?
Drift symptoms include unintentional character movements or menu scrolling without touching the analog stick.
Are there any long-term solutions for preventing drift?
Regular cleaning, using protective accessories, and proper storage can significantly reduce drift occurrence.
Should I consider buying a new controller or fixing the current one?
If repair costs surpass half the price of a new controller or if DIY fixes fail, consider buying a new controller.